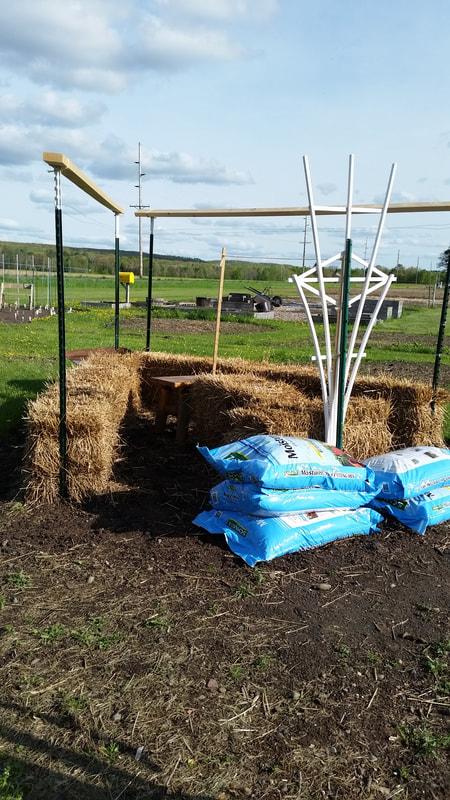
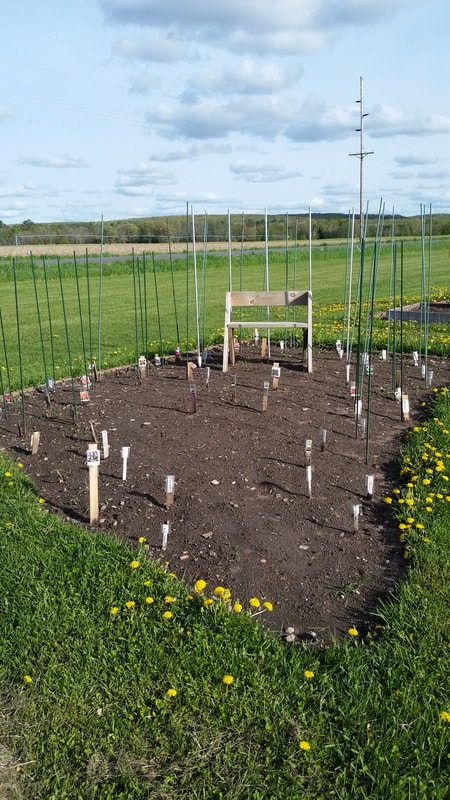
New this year in the Teaching and Display Garden will be a straw bale garden display and a dahlia bed featuring 30 unique plants. We're hopeful that last week's rainy and cold weather did not rot the tubers that have been planted.
You are welcome to visit the gardens from June through September and watch the progress during our growing season. For more information on the gardens go to our Teaching & Display Garden page.
0 Comments
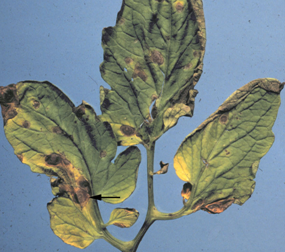
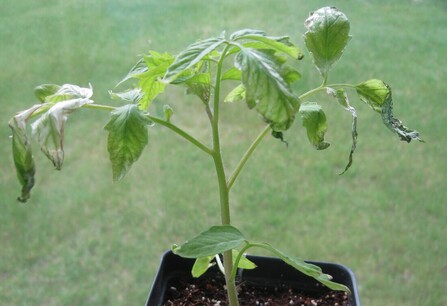
Early blight is the bane of tomato growers everywhere in the north country. You will know you have it when the lower leaves of your tomato plants wither and die early in the season. Often the upper portion of the plant seems fine and will set fruit which will ripen and are perfectly fine to eat. Other times the blight will wipe out the plant in a few weeks. Early blight is a fungus (or two fungi) that lives in the soil and blows in on the breeze. It is almost impossible to avoid but there are some things you can do to the lessen the impact. Planning ahead for the inevitability of early blight is the best defense.
Anti-fungal sprays can help. Be sure to use as directed and use proper protection. See link below for fungicides. Home remedies include a spray made of a few drops of tea tree oil in a quart of water. Spray the soil before planting and spray the plant, stem and leaves, every few weeks. This may not prevent early blight but it can slow down the infection. Another home spray recipe: 3 tablespoons baking soda to gallon of water, add 2 tbsp of horticultural oil or vegetable oil and 2 drops of dish soap (the soap will help the oil mix with the water). Saturate the leaves with this mixture, top and underside. Reapply every 2 weeks. Note that baking soda can affect other nutrients in the soil such as magnesium and calcium and can affect the absorption of iron so be careful not to over apply. Helpful links: Recognizing early blight, resistant tomato varieties and chemical control: https://extension.umn.edu/diseases/early-blight-tomato Pruning and staking indeterminate tomato plants for good air circulation and healthy plants https://www.google.com/search?client=firefox-b-1-d&channel=tus&q=staking+tomato+branches#kpvalbx=1 Article submitted by Pamela Davies MGV Whether you have started seedling in your house or have gone to the garden store and purchased seedlings, you will give them the best start by hardening off the little plants for up to ten days before planting them in the garden. Hardening off is the process of acclimating your young plants to the new environment they will be living in the same way you might go to a tanning parlor a few times before heading off to a sun filled vacation--you don't want to get a sun burn your first day. Likewise you don't want to sunburn your little plants or put them in shock with temps colder than they are used to. Start a week to ten days before you plan to start planting in the garden. Some garden store plants that have spent time outdoors will not need this but any that have lived inside a green house will need at least 4 days. Start out slowly with a few hours outside in partial shade on a mild day and away from strong wind or hard rain. Over a few days you will increase that time and exposure to the sun making sure the plants don't dry out. When you know overnight temps will be mild, leave the plants out overnight protected from browsing deer or rabbits. If temps are going to be a bit cold you can bring the plants in or cover them up overnight. Hardy and half-hardy plants such as broccoli, cabbage, lettuce and some herbs, can take temps as low as 45 degrees. Tender plants that have not been well established in the garden will not be happy with temps cooler than 60. You want to be sure your plants get well established in the garden before they have to endure some of the unseasonably cool nights we get here in the north county. What can help speed this along is making sure your soil temp in the garden is at least 60 degrees before transplanting. Onions, chard, lettuces kale, peas and spinach are fine when the soil is cooler. For tomatoes and peppers, warmer is better. Even if you have to wait a bit longer than you would like for the soil temperature to get to 60 or more, it will pay off in the long run as your plants will get established that much faster. How to tell if the soil is warm enough? Dig a small trench about 6 inches deep and hold the back of your hand in it for a minute or so, if it feels cold, you will want to wait. If it feels cool, or "nice" or you detect no temperature difference, it should be warm enough to start planting. Soil thermometers are economical or you can also use an instant read cooking thermometer--use a screwdriver to make the hole before pushing in the thermometer. Water your seedlings once planted but do not drown them with too much water. Their new soil environment will probably not be as hospitable as the mix you used for starting them so be sure not to over water them. In a few days, use a diluted fertilizer to help them along while they are getting established. Avoid stressing the plants with too much fertilizer. After planting, keep tabs on night time temps and cover if need be and be sure to protect them from pests out looking for a snack. Article submitted by Pamela Davies MGV
To Pre-Register & for more information call the Spooner Agricultural Research Station @ 715-635-3506
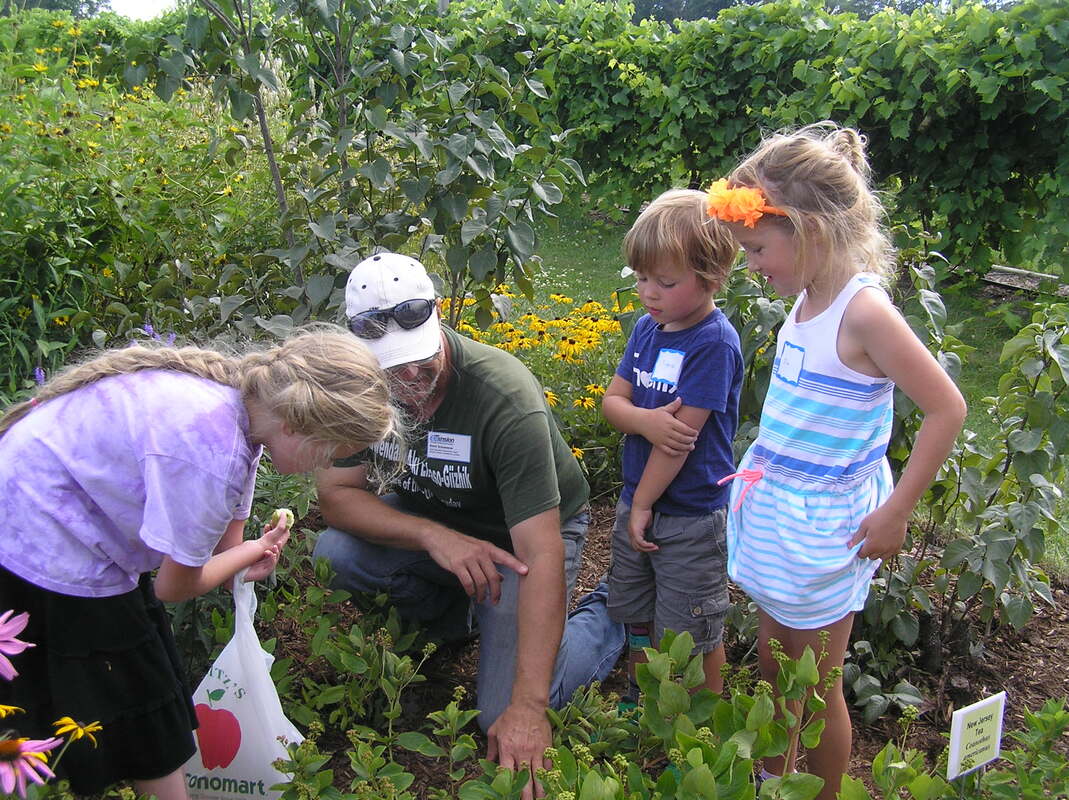
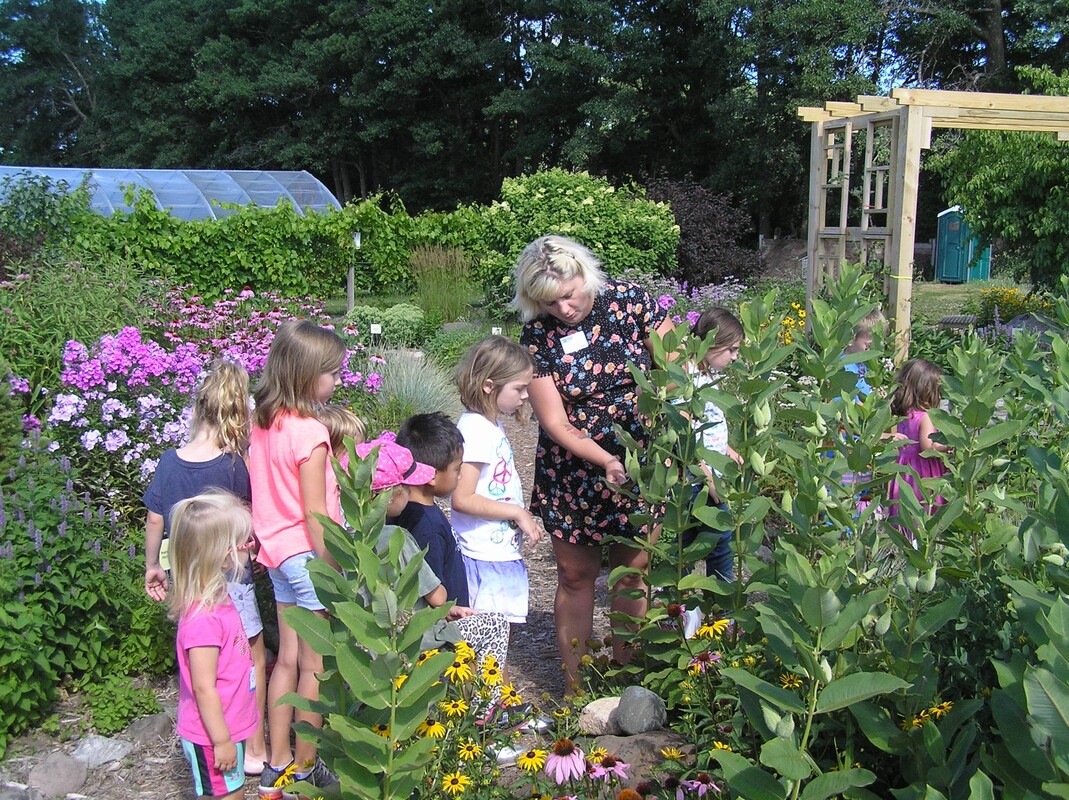
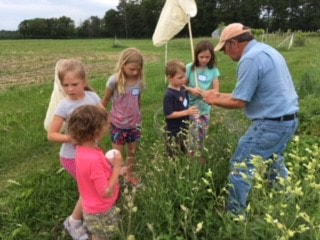
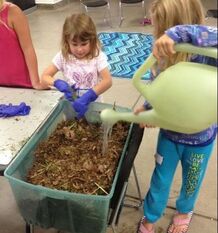
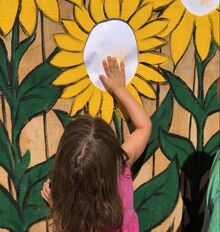
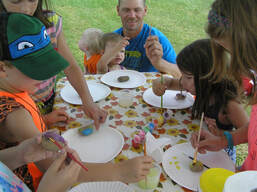
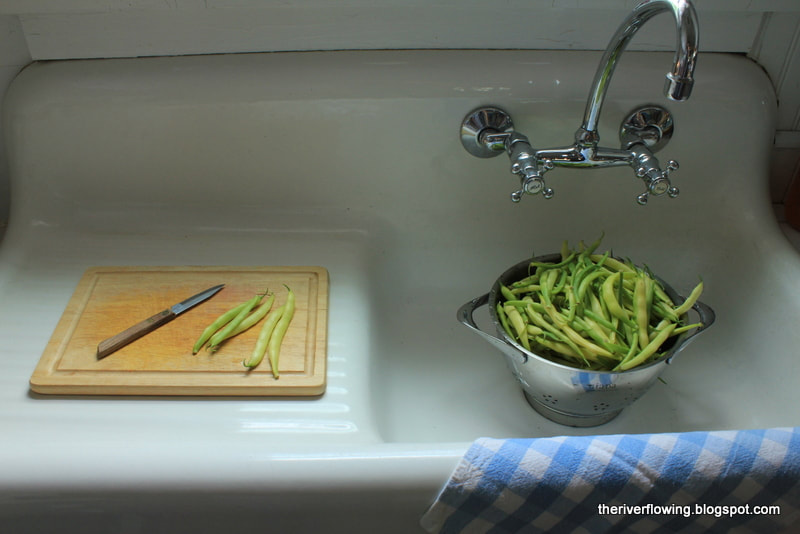
Start Small with theme gardens We will begin small by creating a garden with a dinner salad in mind. We will plant salad greens, lettuce, arugula, spinach, and herbs and tall greens, kale, parsley and chives — all are kid-friendly and easy to grow. Kids like to see the result of their effort, so we will also be planting crops that grow quickly such as green beans that will grow up the mast of our pirate’s ship. We will plant colorful flowers in our rainbow garden.
We offer flexible scheduling, meeting on Monday afternoons from 4 pm to 5:30 pm, repeating the session on Tuesday morning from 9:30 am to 11 am. Odds are kids and parents alike will enjoy the time they spend together and learn a little something along the way. We hope you will join us! Our 2019 schedule is: **A parent or an adult is required to stay with children under 10 years of age.**
To Pre-Register & for more information call the Spooner Agricultural Research Station @ 715-635-3506
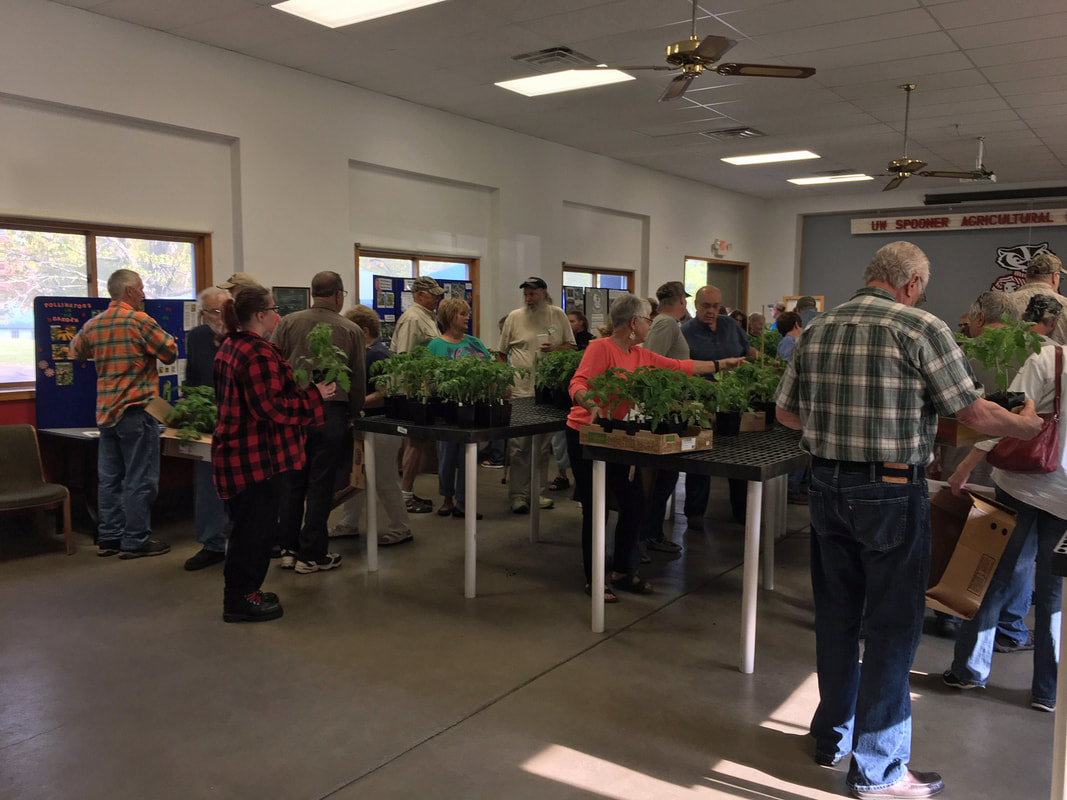
Heirloom tomatoes were the cornerstone of the group’s very first plant sale. Since then, NCMGVA has increased the number of heirloom choices and added a few of their favorite hybrid varieties. The tomato and pepper plants are started from seed and grown by volunteers specifically for the sale.
Though hundreds of the plants will be at the sale, they tend to sell out quickly and gardeners are advised to go early for the best selection. The sale begins at 8 a.m. at the Spooner Ag Research Station on Hwy 70 east of Spooner and runs until the plants are sold out. The proceeds go toward supporting the Teaching and Display Garden that is open to the public on Orchard Lane, just east of the Ag Research Station; for garden-related grants; for promoting horticulture outreach and education in Sawyer, Washburn, and Burnett counties; and other horticultural projects. “According to Kevin Schoessow, Area UW-Extension Agriculture Development Educator and advisor to NCMGVA, Master Gardener volunteers come together from many backgrounds.” They find common ground in their appreciation for growing plants, whether edible or ornamental. They are trained volunteers who assist the University of Wisconsin-Extension staff by helping people in the community better understand horticulture and the environment, and they donate thousands of hours’ worth of their time each year toward that end. The one thing about Canna Lily that I love is the fact that pollinators LOVE them. If you love hummingbirds, you want to have a Canna Lily in your yard or on your deck. Canna's can be planted in pots. Though Canna's are tough enough to grow just about anywhere the following tips will help you have a show stopper Canna Lily garden. Water.. this may be their most frequently neglected need. Fertilizer.. they like to eat! Top dress with a handful of rose or tomato fertilizer. Warmth.. I have started them in pots in the house. Plant directly or transplant in June. Sun.. though they will grow in part shade.. they bloom more vigorously in full sun. Canna Lily can be treated as an annual. OR You can save your Canna Lily from season to season. If you want to save your bulbs for the next season dig them up in the Autumn. Let the bulbs dry in the sun for a day or two. Store in a dry area of your basement. Old House Gardens Blog has many fun stories and ideas of how to add Canna Lily to your garden. oldhousegardens.com/blog/?category=Diverse+Others AuthorCarla TePaske ~ NCMGV Join us early (before 8 am) on Saturday, May 18 for our annual North Country Master Gardener Volunteer Plant Sale! We will be offering a large variety of tomatoes and peppers as well as a pollinator six pack and an herb six pack.
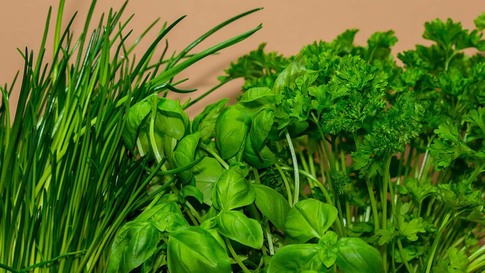
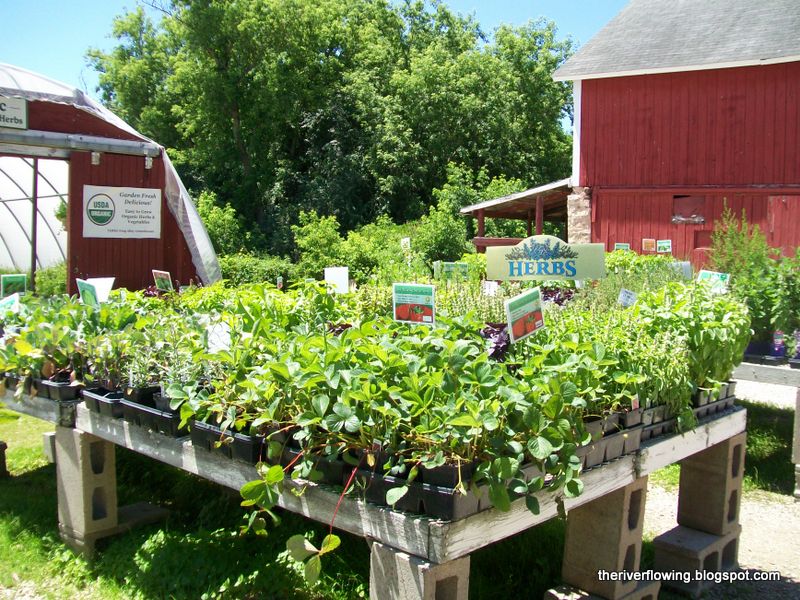
The Herb Six Pack will include our cooking favorites: Thyme, Rosemary, Italian parsley, garlic chives, Genovese Basil and dill. There is nothing like going out to the herb garden to snip what you need fresh for dinner. Just breathing in the aroma will make you want to create fabulous dishes you've never tried before. You can spice up a plain rice dish with chopped fresh herbs or add them to dumplings, soups or stews. Use fresh dill and garlic chives with sliced cucumbers, vinegar and salt, add to potato salad or to a tomato salad with red onions and feta cheese. Rub them into your hands and breathe in the fragrance for a quick pick-me-up. Use both basil and rosemary as natural bug repellents in pots on your patio. This collection of herbs can go into the garden bed after a short hardening off period as they have been grown in a green house. They will need about four days or so to get adjusted to the variable temperatures, sunlight and wind outdoors. How to harden them off:
Article submitted by Pamela Davies MGV If you’ve been thinking of growing your own herbs, you should absolutely do it! The next time you want a few leaves of rosemary or basil, you can just pluck them off your plant instead of running out to buy them. You can get started on your own kitchen garden at our Annual Plant Sale. New this year is our Herb Six Pack Annual Plant Sale sponsored by North Country Master Gardener Volunteers, Saturday, May 18, 8:00 -11:00am (or until plants last) at the Station Building, 1035 E. Maple Street (Hwy 70). For sale: Heirloom Tomatoes, Peppers, Natives, Herbs, and Cannas A recipe to try this summer.. No Knead Rosemary Bread 2 1/2 tsp. instant yeast 2 C. of warm water 1 T. sugar 2 tsp. salt 4 C. flour 2 tsp. chopped rosemary Olive oil Put the water and sugar in your mixing bowl and stir well.. add the yeast and stir again Add two cups of flour and stir well then add the other two cups of flour, salt and rosemary mix well with a wooden spoon Cover with a damp tea towel and let rise for an hour With oiled hands divide dough into bread size or form into buns Let rise Bake at 375 degrees 30 to 35 min. Serve with Herb Butter if you missed the recipe click below www.northcountrymgv.org/blog/herb-butter AuthorCarla TePaske ~ NCMG One of my favorites and this year's National Garden Bureau's pick for perennial in their "Year of the" program, is Salvia, specifically Salvia nemorosa.
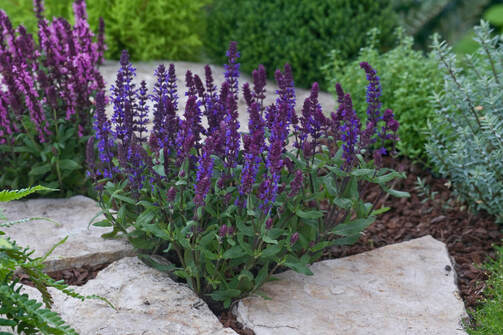
A mint family member, hardy garden Salvia grow into large well contained clumps that will not get out of hand the way other mints such at spearmint or catnip can. Salvia nemorosa is a hardy and versatile perennial and a beautiful addition to any garden. The purple/blue to pink varieties are striking as accents or in mass plantings and the minty aroma is delightful. Once established in the garden, Salvias are drought tolerant and take very little care. Amend sandy or heavy clay soil before planting, then a balanced fertilizer applied in the spring and again in the early summer will keep your Salvia healthy and vibrant throughout the growing season. Provide at least six hours of sunlight to encourage profuse flowering. The spring bloom need not be the only bloom of the season. Cutting the plant back after the blooms brown to one-third the original size will stimulate more blooms four to six weeks later. You can repeat this process throughout the growing season. Hummingbirds and bees love Salvia, deer and rabbits don't seem to care for them. What could be better in our corner of NW Wisconsin! To learn more about Salvia nemorosa check out: https://ngb.org/year-of-the-salvia-nemorosa/ For more information on the National Garden Bureau, check out: https://ngb.org/about/ Article submitted by Pamela Davies MGV We all are getting excited for the growing season. We start to visit our local greenhouses and nurseries. We all are ready for green and color! A Weather Reminder 50 + degrees - annuals are safe outside 40 + degrees - cool weather annuals are safe outside 40 degrees or below - cover up annuals and pull inside AuthorCarla TePaske ~ NCMGV |
|
| North Country MGV | gARDEN bLOGS |
Location |
|

 RSS Feed